Configure an automated data transfer to Amazon S3
- 09 Nov 2023
- 3 Minutes to read
- Print
- DarkLight
- PDF
Configure an automated data transfer to Amazon S3
- Updated on 09 Nov 2023
- 3 Minutes to read
- Print
- DarkLight
- PDF
Article Summary
Share feedback
Thanks for sharing your feedback!
This article describes the steps for a Provider to create an automated transfer to the Bobsled-managed [Amazon S3] destination.
More information:
- Data Transfers: Sharing Data with Bobsled
- Amazon S3 destination: Amazon S3 Destination
Prerequisites
To create an automated transfer, you must:
- Have a share created. To learn how to create a share, visit: Create and manage a share.
- Use a pre-configured source. For more information about sources and how to configure them in Bobsled, please visit Sources.
- Configure the Amazon S3 destination. To learn how to configure the Amazon S3 destination, visit: Configure an Amazon S3 Destination.
Creating the automated transfer - file storage source
1. From the three-line menu, select Shares. Click on the share that you would like to create a transfer for or create a new share.
2. Select on Pick Source. Choose from the list of your pre-configured sources.
3. Select on Pick Destination. Choose Amazon S3 and region. At this stage, you do not need to configure access.

4. After choosing your source and destination, the create transfer button will be enabled.
5. Select the folders you would like to transfer from the file picker pictured above
5.1 Select the checkbox to the left of the folder to add the data to the transfer
5.2 Select the folder name to navigate into folders
5.3 Select the folder path to navigate to the root and parent folders
6. Select Start automated transfer.
6.1 By default, the automated transfer will automatically sync and transfer the data every 5 minutes; to run the automated transfer at any time, select Run now.

7. When the transfer is complete, the button Access Data will appear. To learn how to consume a transfer, visit Consuming a data transfer in Amazon S3.
Creating the automated transfer - data warehouse source
1. From the three-line menu, select Shares. Click on the share that you would like to create a transfer for or create a new share.
2. Select on Pick Source. Choose from the list of your pre-configured sources.
3. Select on Pick Destination. Choose Amazon S3 and region. At this stage, you do not need to configure access.
4. After choosing your source and destination, the create transfer button will be enabled. 
 5. Select the tables or views you would like to transfer from the table picker pictured above
5.1 Select the checkbox to the left of the table or view to add to the transfer
5.2 Select the database or schema name to navigate into schemas and see tables and views
5.3 Select the database or schema to select all tables or views currently within the database or schema.
6. Select Start automated transfer.
6.1 By default, the automated transfer will automatically sync and transfer the data every 5 minutes; to run the automated transfer at any time, select Run now. Bobsled checks the source data warehouse using lightweight metadata queries to determine if there is new data before kicking off an extraction.
7. When the transfer is complete, the button Access Data will appear. To learn how to consume a transfer, visit Consuming a data transfer in Amazon S3.
Viewing the transfer details
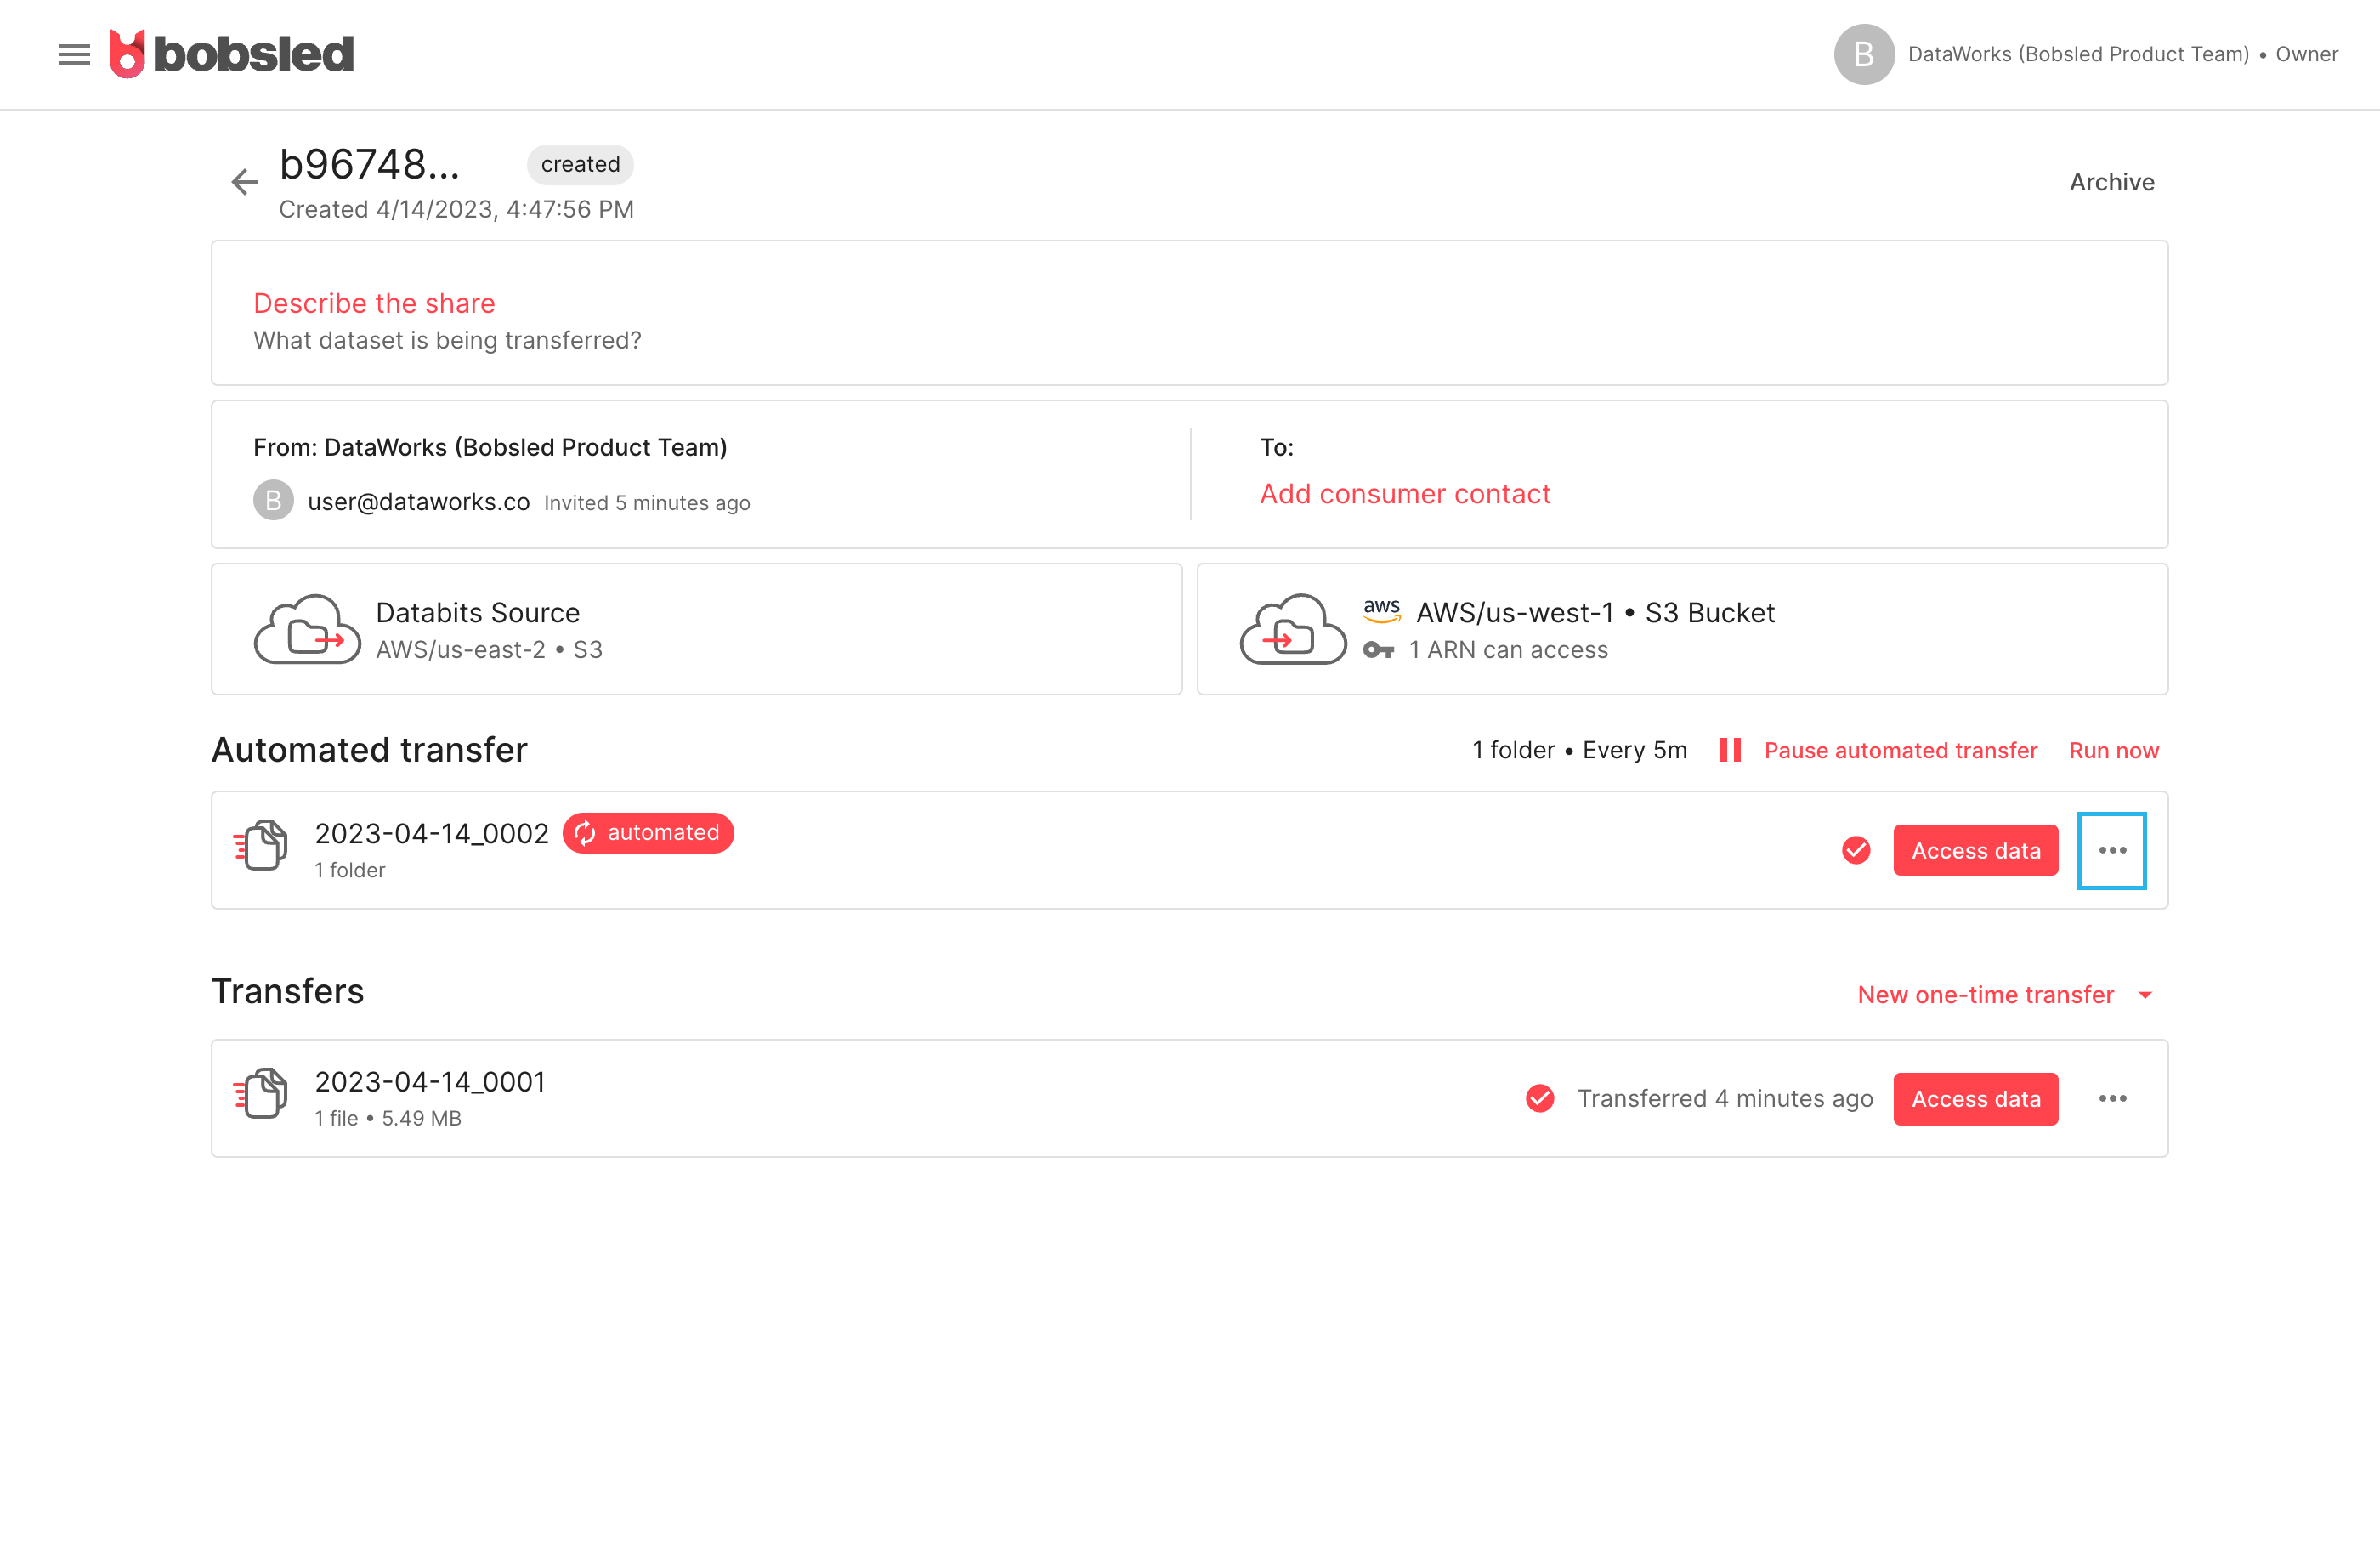
1. Click the ellipses in the transfer row. Select View.

Editing an automated transfer
1. Click the ellipses in the transfer row. Select Edit. The file picker will open.
2. Edit the configuration of the automated transfer to the desired state. Click resume automated transfer.
If an automated transfer has not yet started, editing and resuming a transfer will immediately start a new transfer.
If editing an in progress transfer, the existing transfer will continue and the changes will take effect the next time the transfer happens.
Pausing and resuming an automated transfer
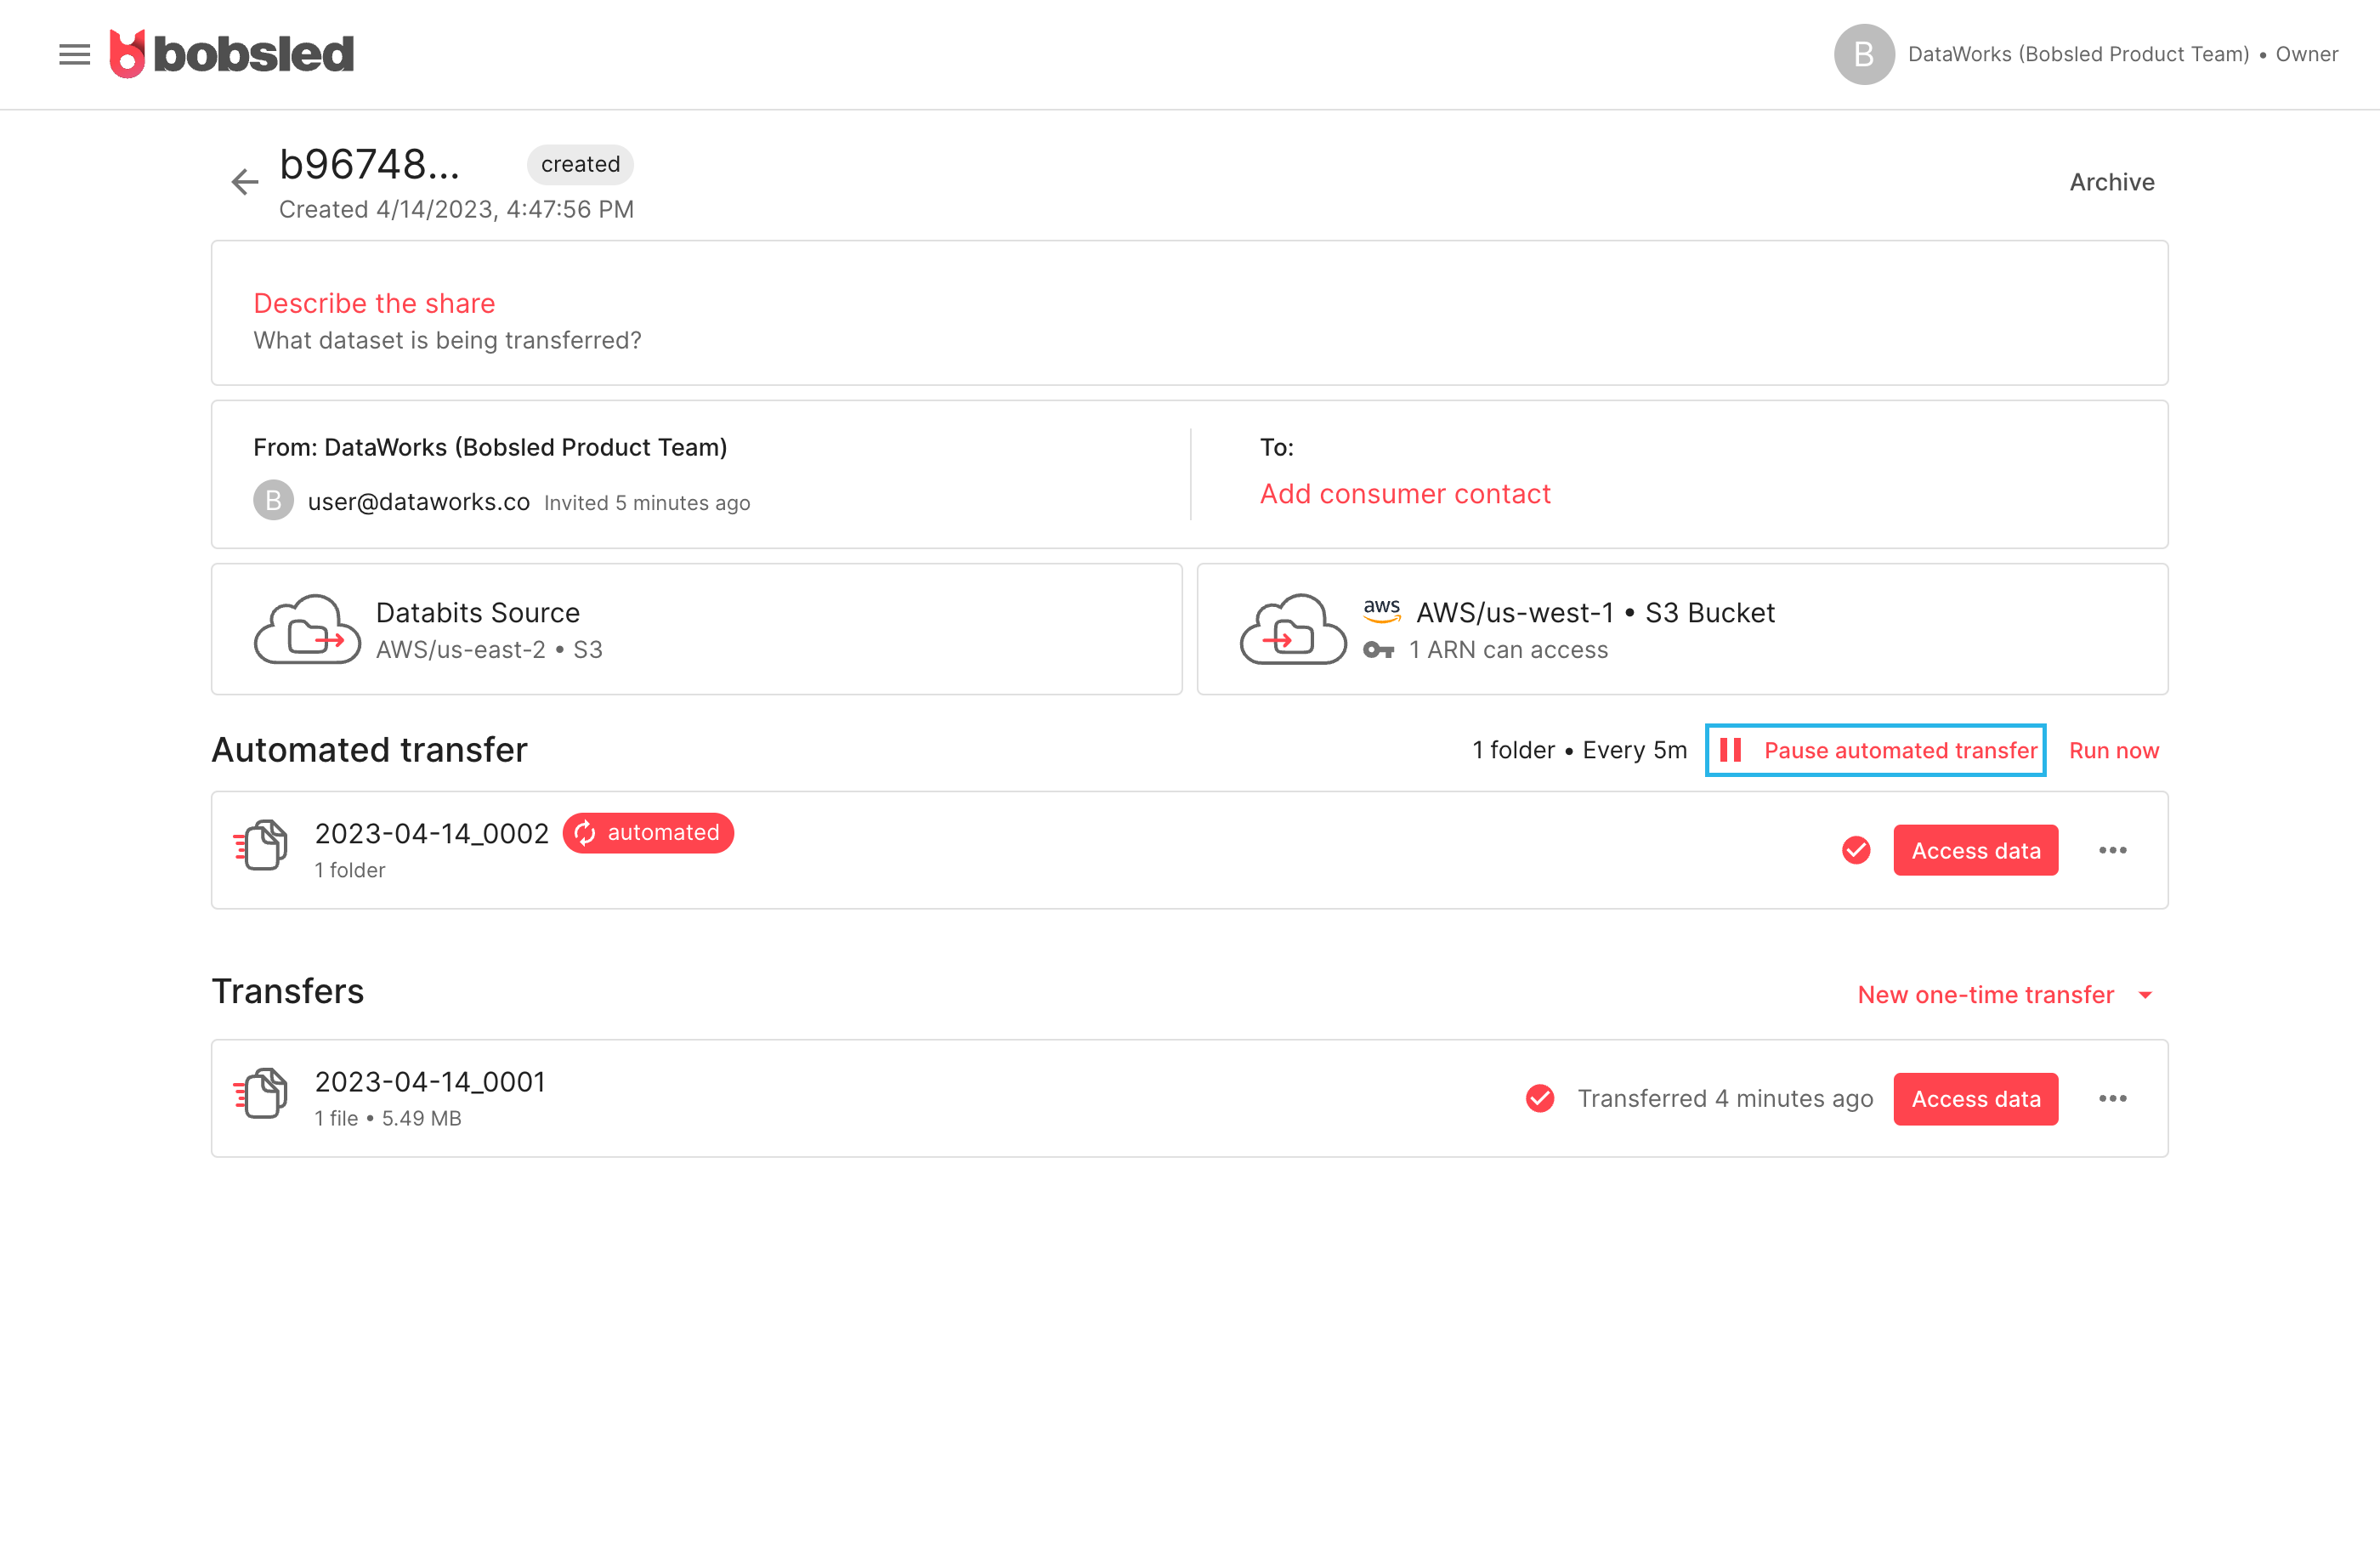
1. To pause the automated transfer, select Pause automated transfer. No new data will be synced while an automated transfer is paused.
2. After pausing an automated transfer, you may restart it by clicking Resume automated transfer. At that time, the data will be transferred and the automated transfer will proceed as scheduled.
Was this article helpful?