SFTP Destination
- 20 Mar 2024
- 1 Minute to read
- Print
- DarkLight
- PDF
SFTP Destination
- Updated on 20 Mar 2024
- 1 Minute to read
- Print
- DarkLight
- PDF
Article Summary
Share feedback
Thanks for sharing your feedback!
Secure File Transfer Protocol (SFTP) is a popular and well supported method of accessing files. Bobsled supports SFTP as a destination, whereby you can grant individuals access using their own SFTP clients.
Prerequisites
You'll need to have SFTP enabled in your Bobsled deployment - talk to your account team to get this set up. SFTP can be setup to be backed by Azure or AWS depending on your organization’s needs.
Configuring the destination
After creating a share, click on Pick destination and in the modal select SFTP:
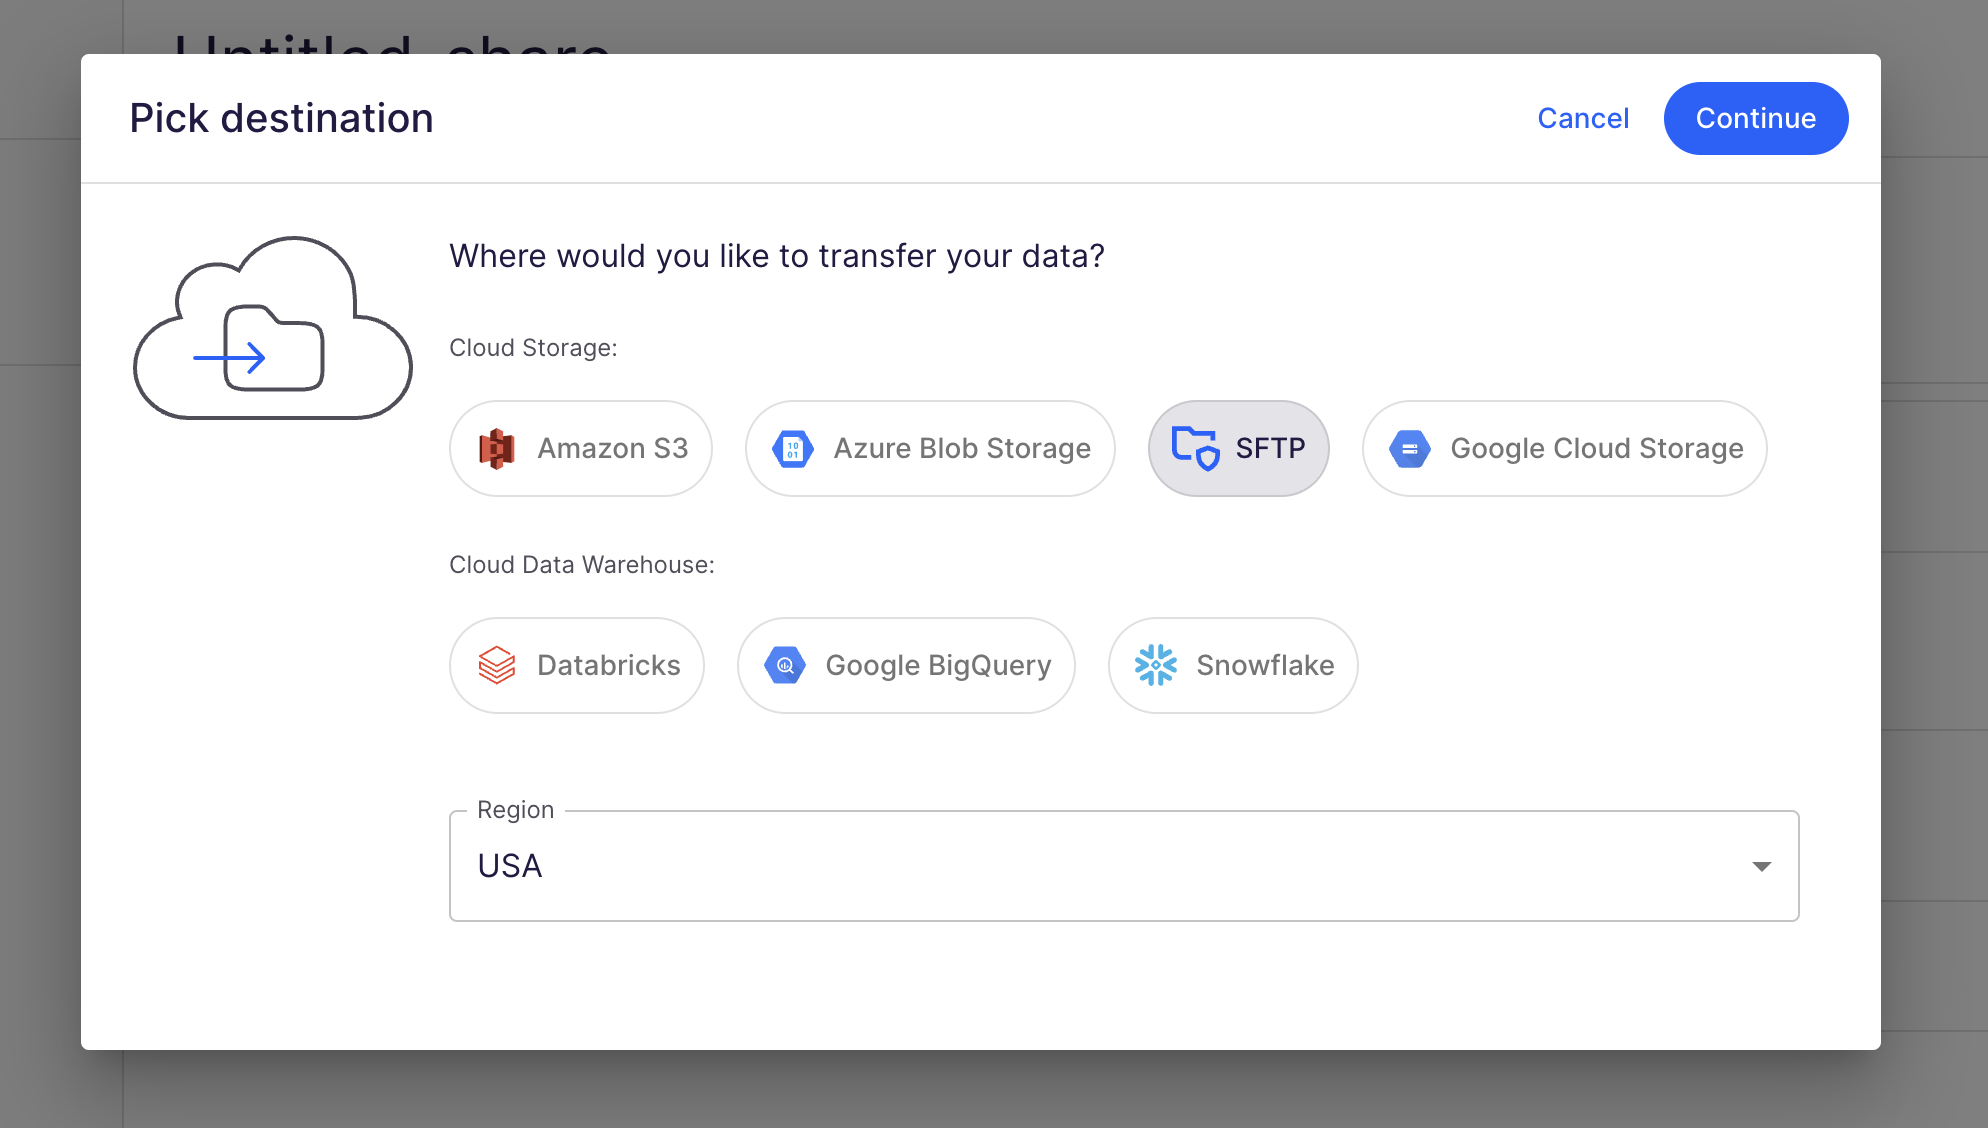
Click Continue and proceed to setting up user access.
Azure-backed SFTP destination configuration

To access SFTP each user will need:
The host (shown in the above modal)
A username
A password
You can generate username-password pairs by entering a user label (to help you remember for what purpose the username-password pair was generated for) and clicking Add user.


Once generated, you can copy the username and password using the copy (double rectangle) buttons beside them. Once you've shared the host, username and password with a user they will be able to connect using an SFTP client.
AWS backed SFTP destination configuration

To access SFTP each user will need:
The host (shown in the above modal)
A username
A public-private SSH key pair
To grant access to a user, enter a label and their public key:

The system will then generate a username for this user, which they can use to login:
.png "Screenshot 2024-03-20 at 10.09.38 AM(1).png")
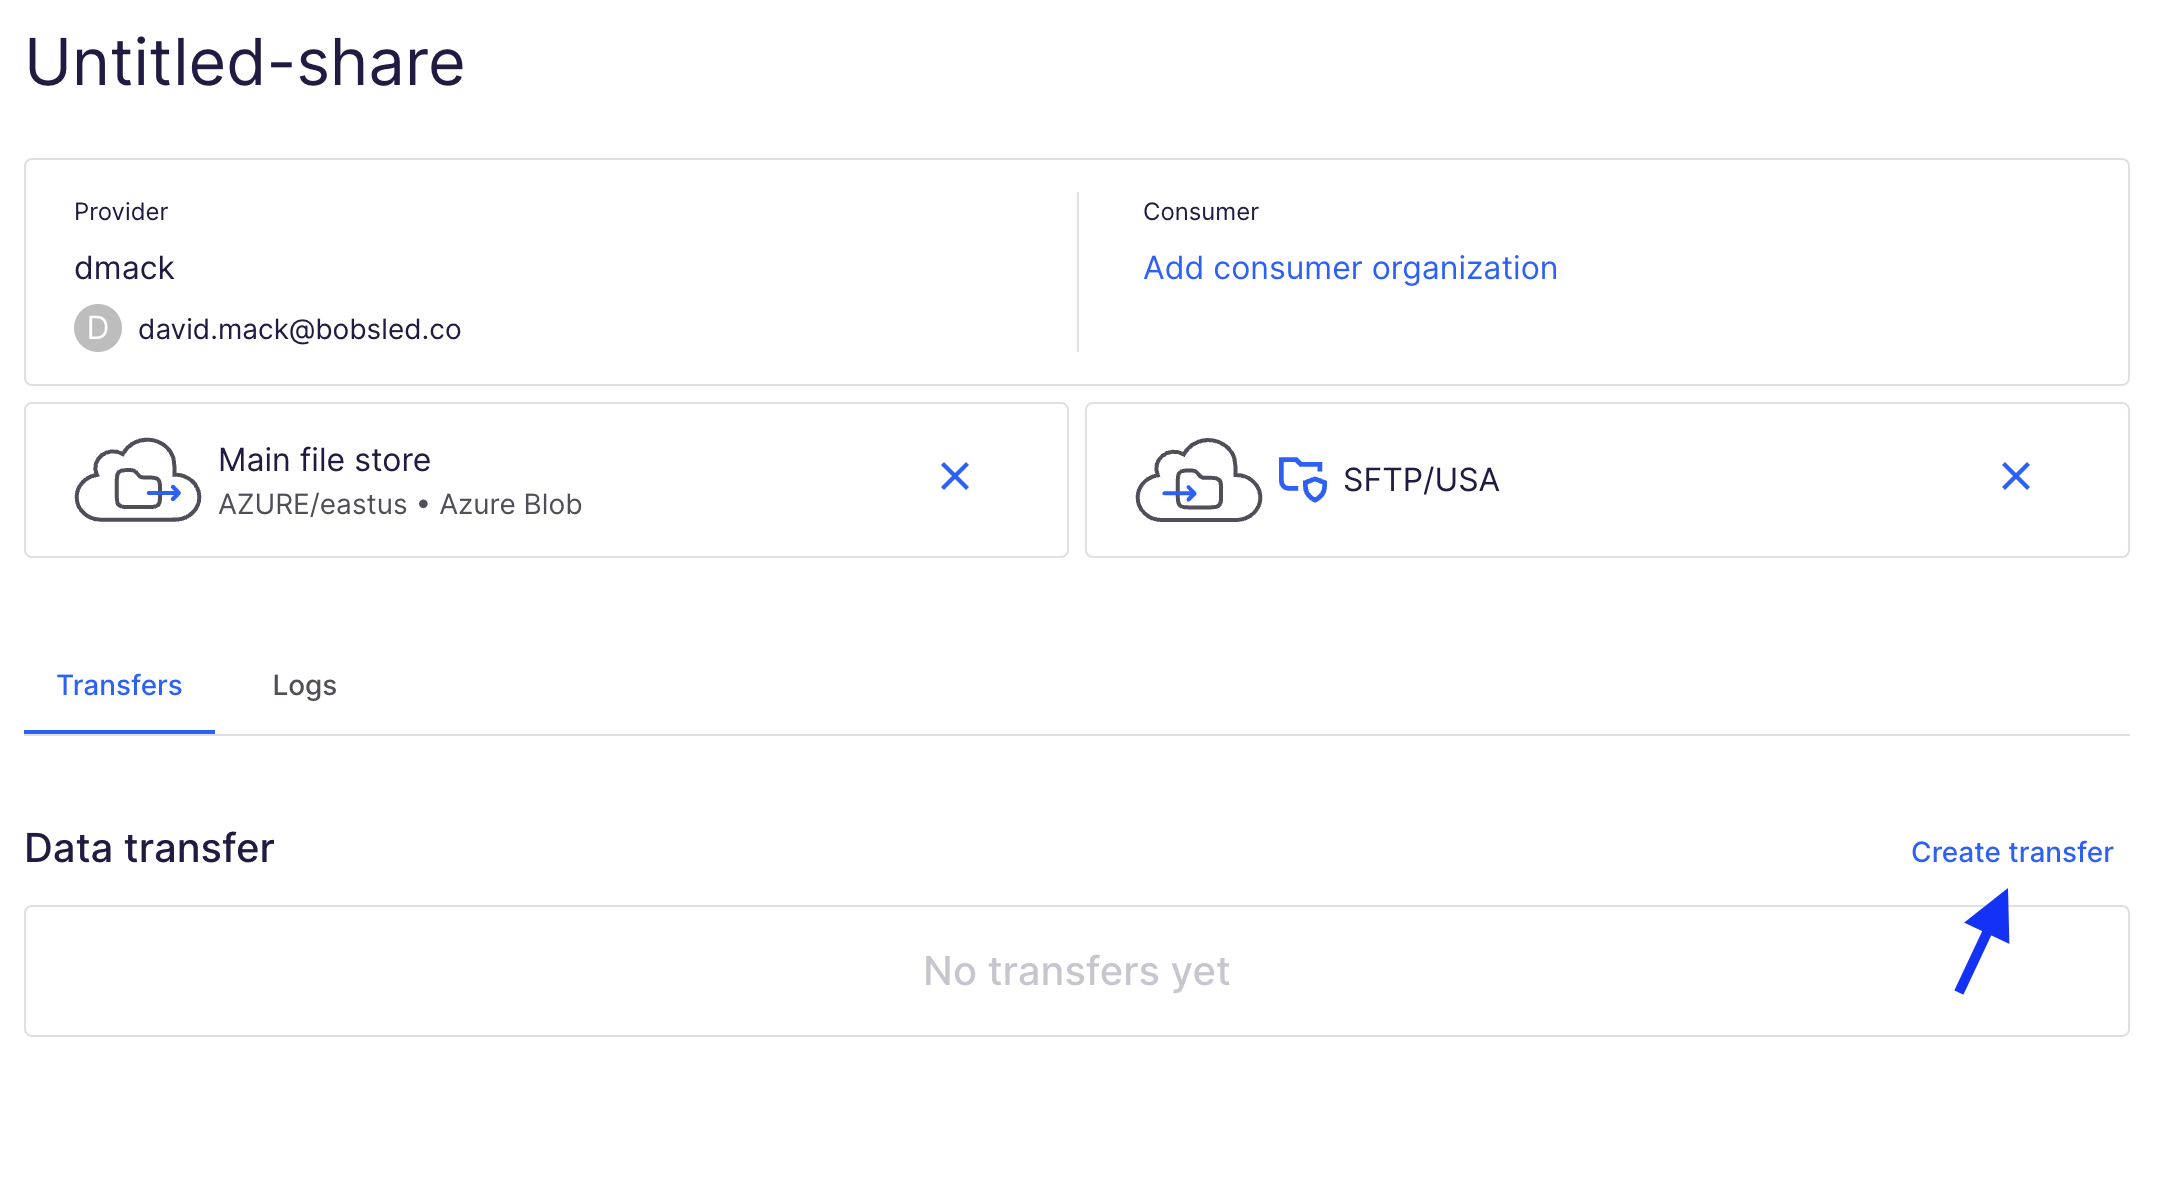
Creating a transfer
The final step in creating a usable SFTP destination is to transfer data to it. Once a source and destination have been added to a share, click Create transfer and follow the modal steps. Once the transfer is created and has successfully transferred, the SFTP destination will show those files within it.
Was this article helpful?